How to create a multi-step form in WordPress
Long forms get abandoned. Splitting one into short steps, with a progress bar so people know how far they have to go, is the usual fix. In Fennec Forms you do it with a Page break field: everything after it becomes the next step. It’s in the free plugin, with no add-on to buy.
Updated · Written for Fennec Forms 1.0.0 · Screenshots from a real WordPress install running the free plugin
What you need
- A WordPress site running WordPress 6.9 or later and PHP 8.1 or later
- Permission to install plugins (an administrator account)
Steps
Step 1: Install Fennec Forms
Download the free plugin from fennecpress.com, then in wp-admin go to Plugins → Add New → Upload Plugin, choose the zip and activate it. It needs WordPress 6.9+ and PHP 8.1+. There is no account to create and no license key.
Step 2: Start from the multi-step template, or a blank form
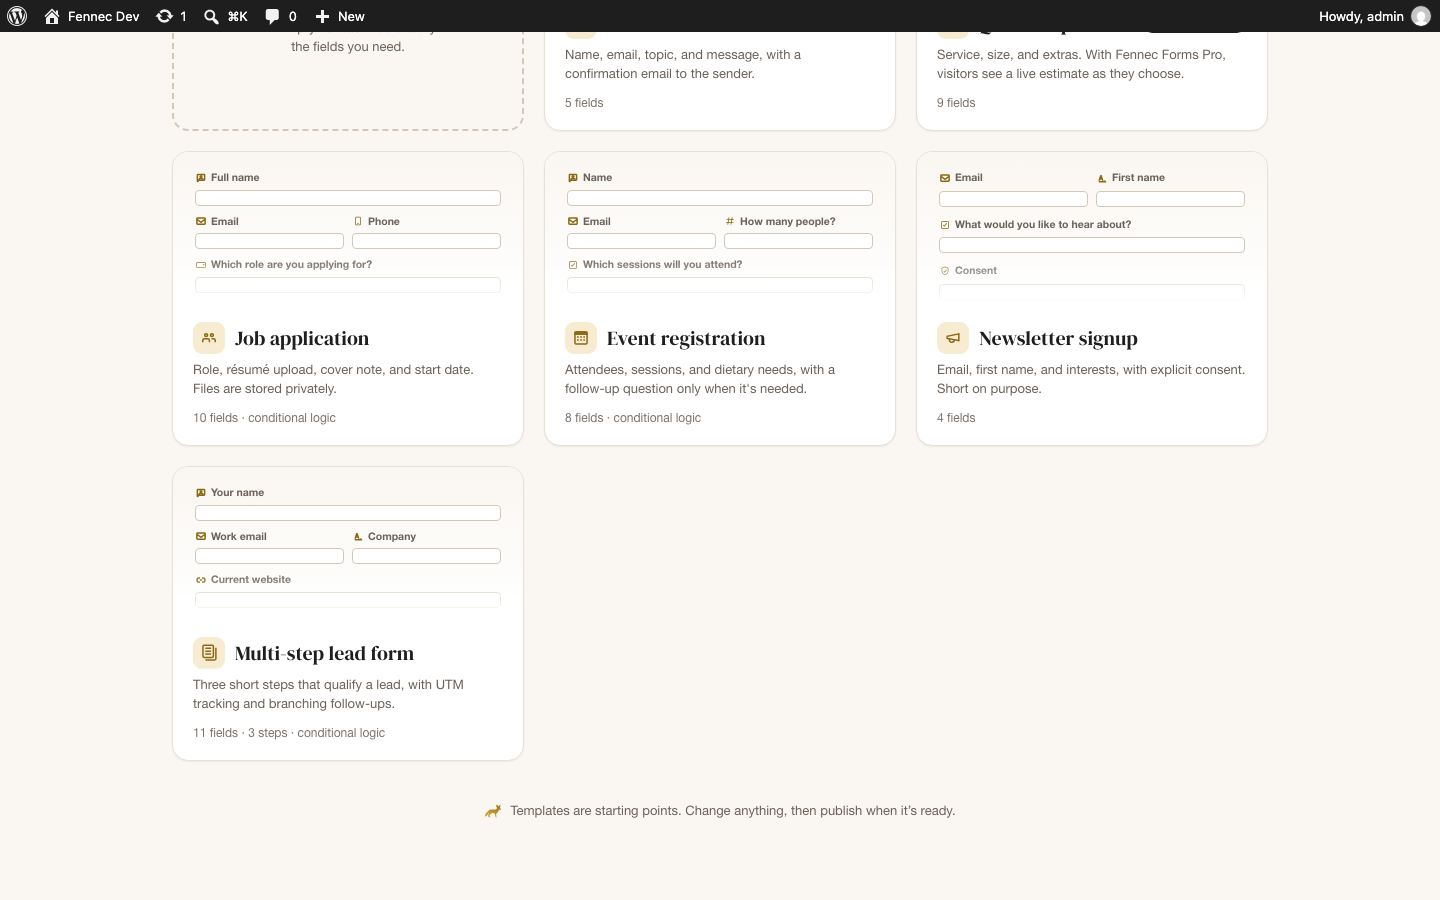
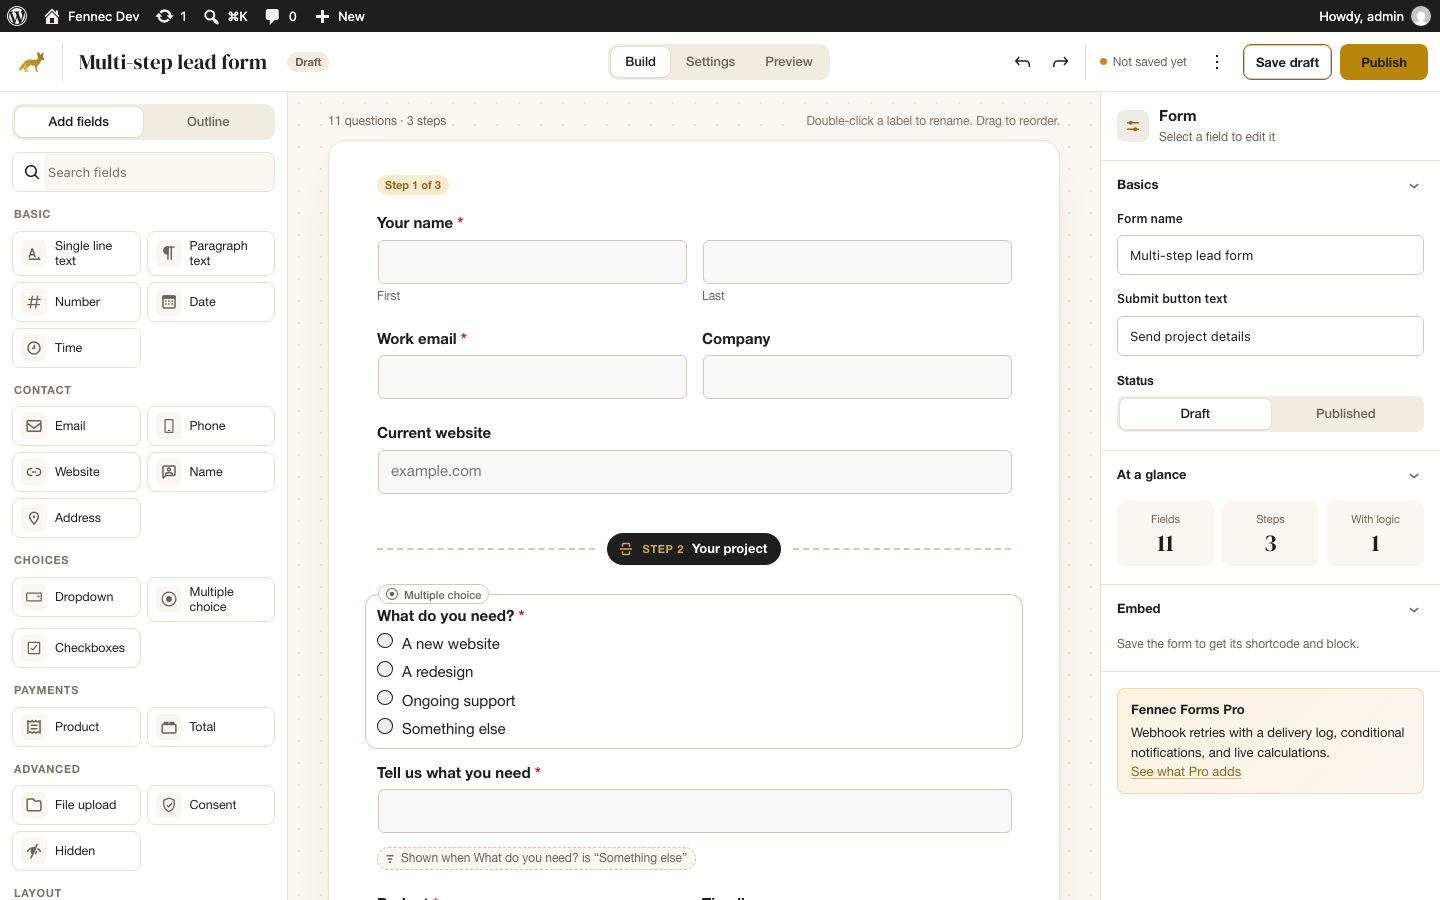
Go to Fennec Forms → Add New. The “Multi-step lead form” template is already split into steps, so it’s the quickest start. To build your own, pick a blank form instead.
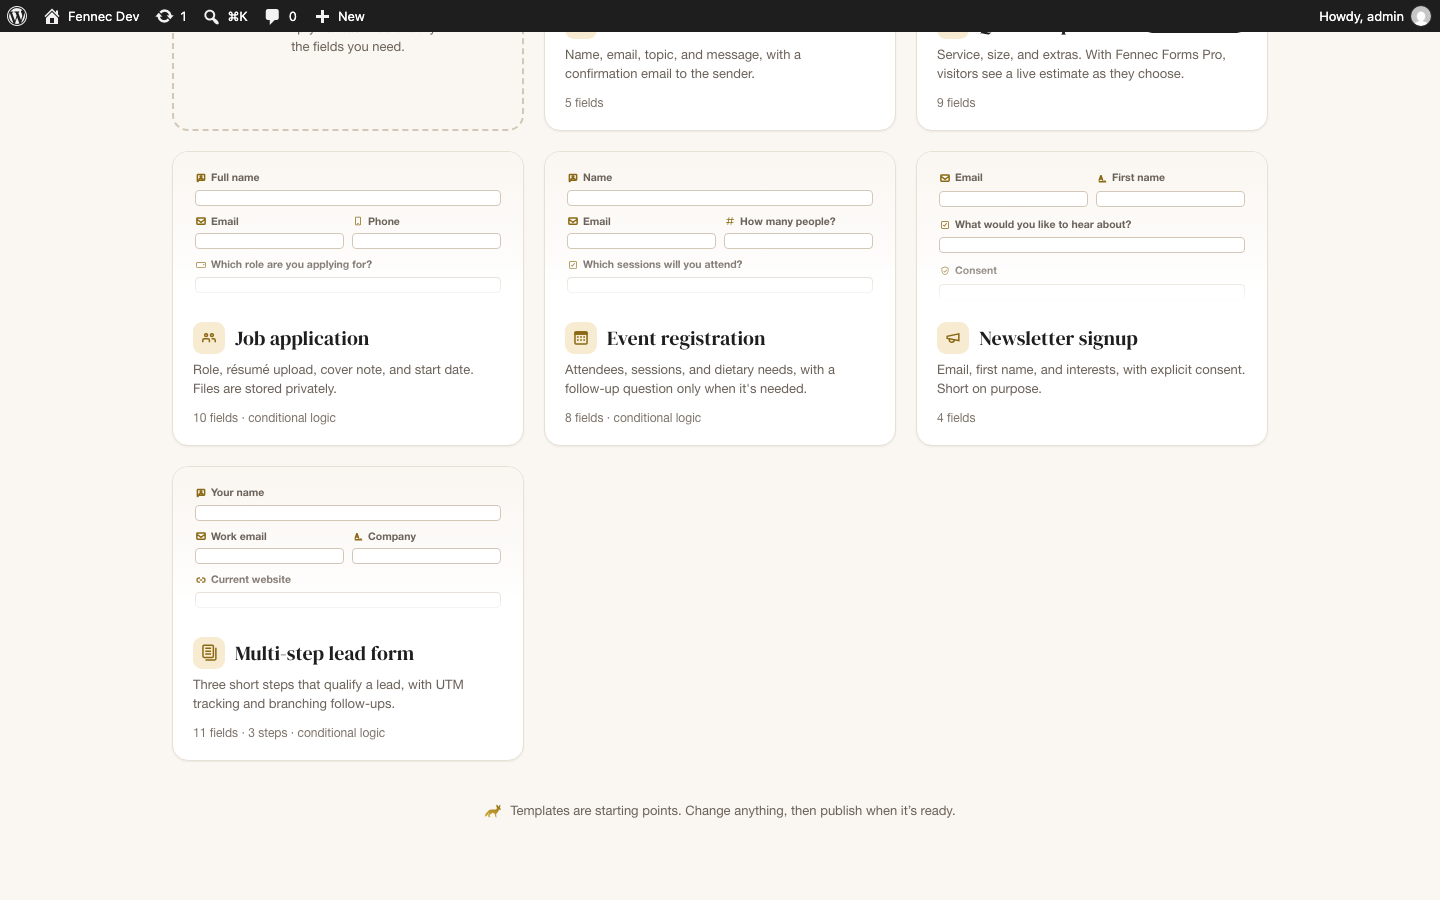
Step 3: Add a Page break wherever a new step should start
In the builder, add “Page break (new step)” from the Layout group of the field picker and drag it to where the step should end. Give each step a short Step title, such as “About you” or “Your project”. Add as many page breaks as you need; the canvas shows each step and the count (“11 questions · 3 steps”).
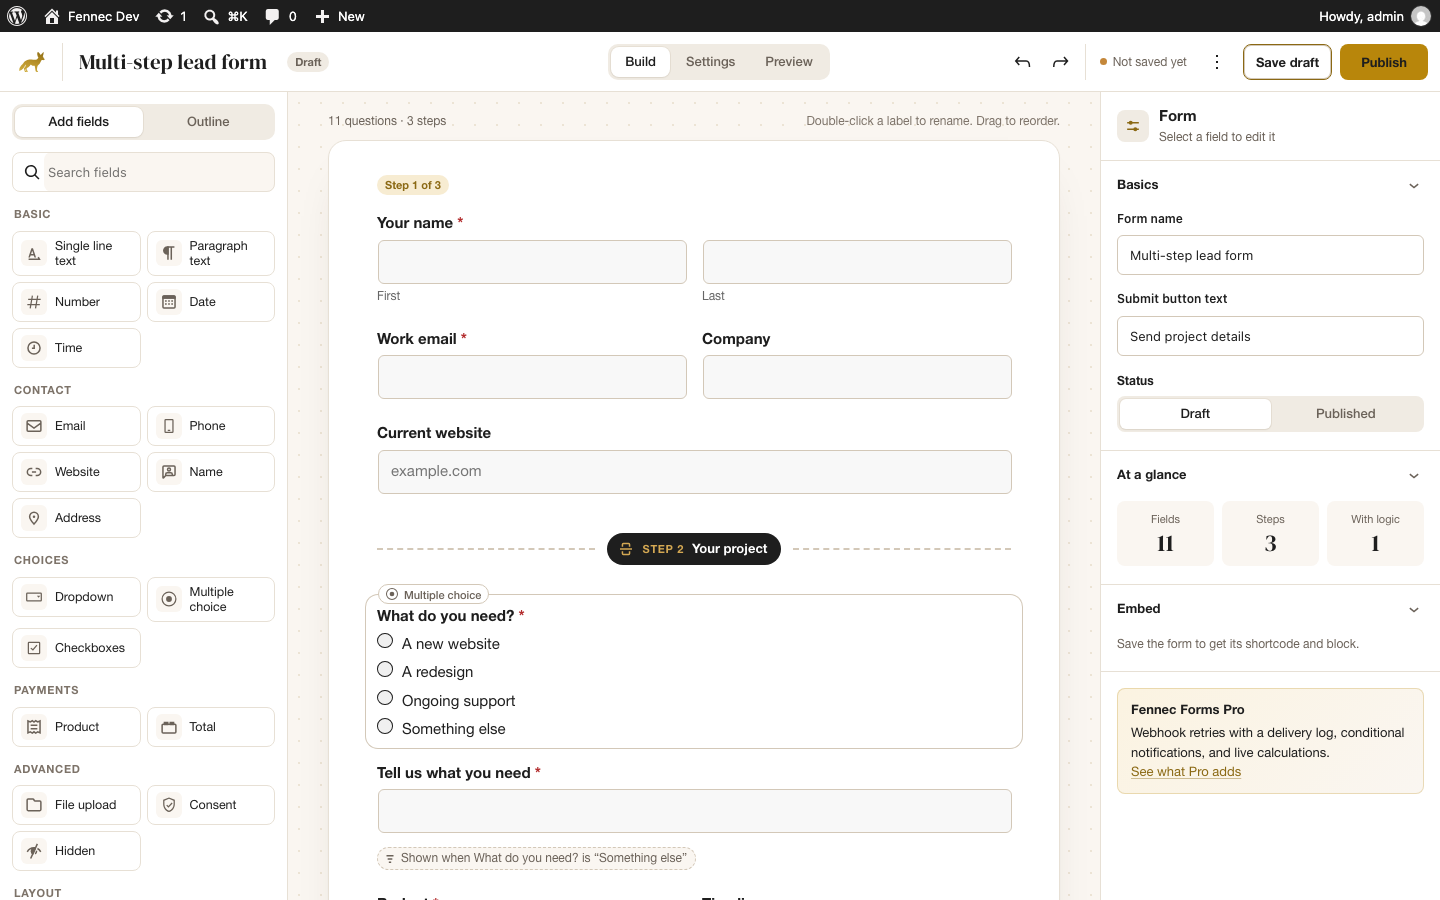
Step 4: Put the right questions in each step
Keep the first step short (a name and an email is plenty) so people commit before the longer questions. Mark the fields that must be answered as Required. Each step is checked before the visitor can move to the next one, so errors show up where they were made.
Step 5: Publish the form and add it to a page
Click Publish in the builder. Then add the “Fennec Form” block to any page and pick your form, or click Embed to copy its shortcode, for example [fennec_form id="123"]. The shortcode is also shown in the form list.
Step 6: Test it as a visitor
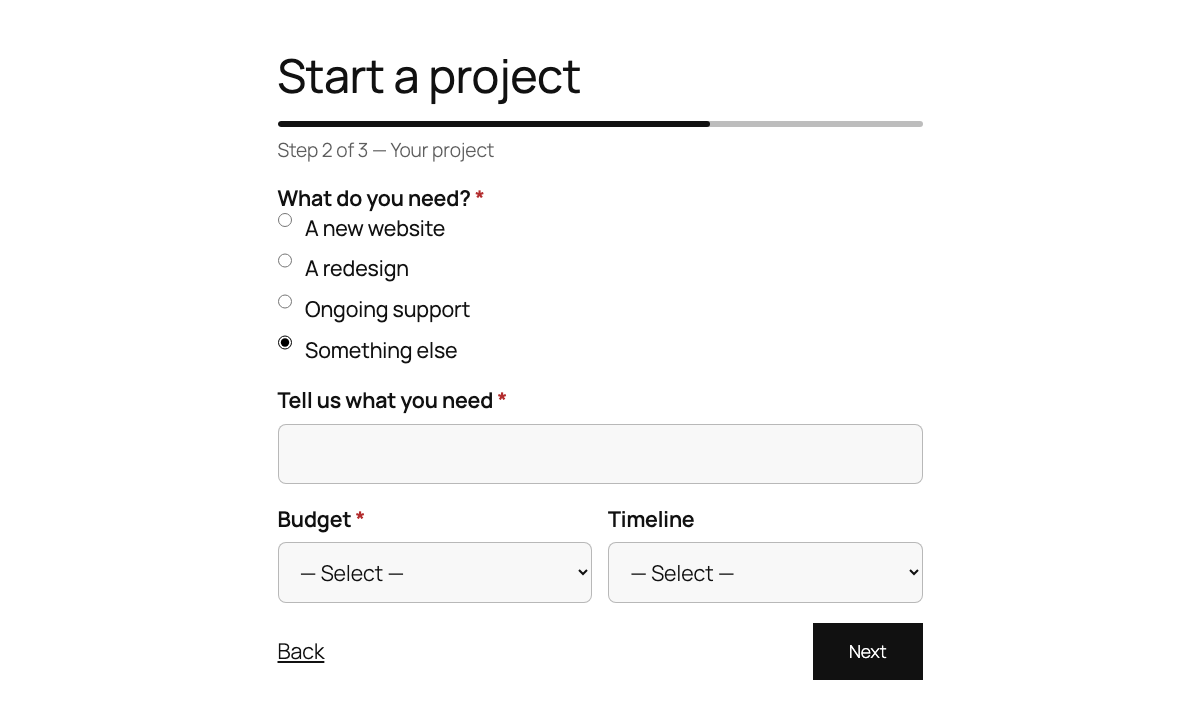
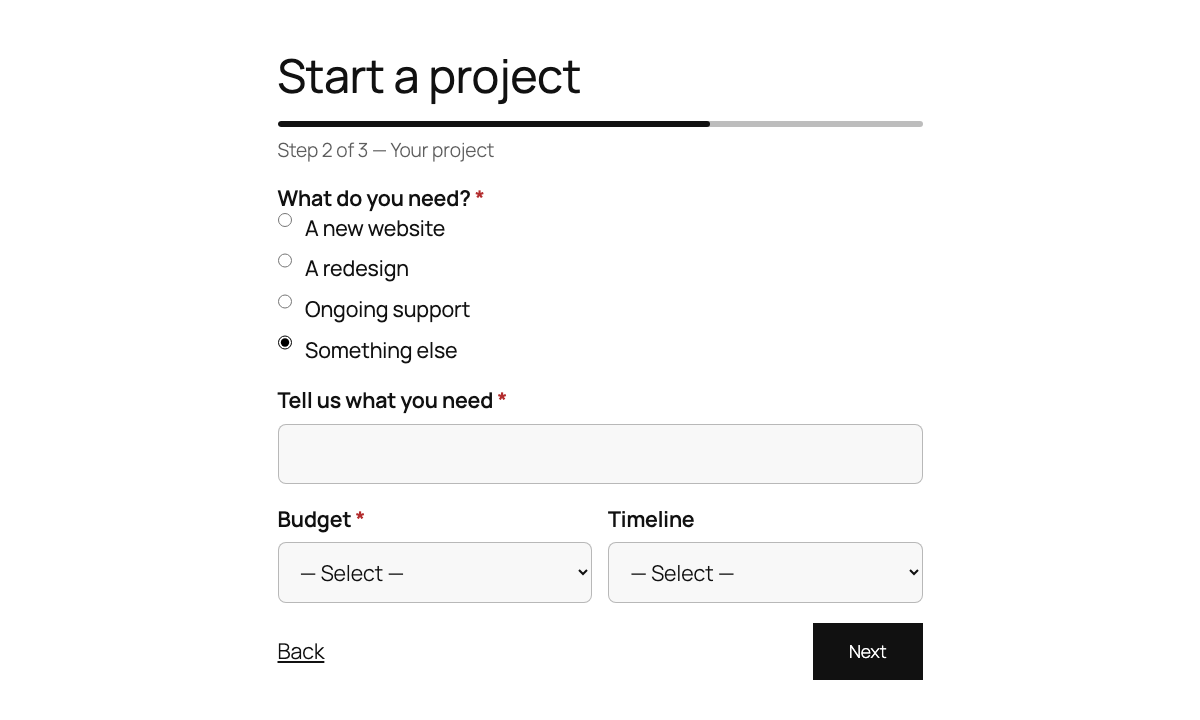
Open the page in a private window. You should see a progress bar with the step number and title (“Step 1 of 3”), and Next and Back buttons. Submit a test entry, then find it under Fennec Forms → Entries.
Good to know
- Combine steps with conditional logic to skip questions that don’t apply. Fields hidden by a rule are never required and never stored.
- Entries are stored in your own WordPress database. You can search them, export CSV and get an email for each one.
- Save-and-resume (leave a long form and finish later) isn’t built yet. It’s planned for Fennec Forms Pro.